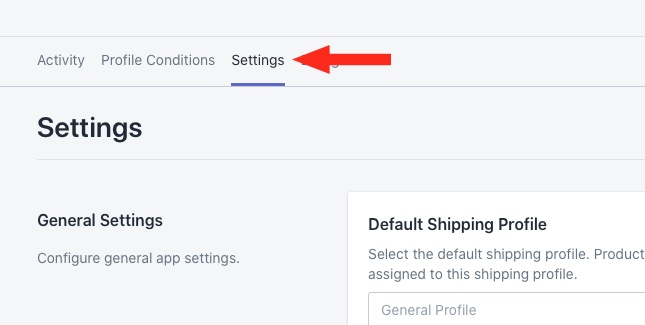
To adjust the settings, click Settings on the main menu.
General Settings/ Default Shipping Profile
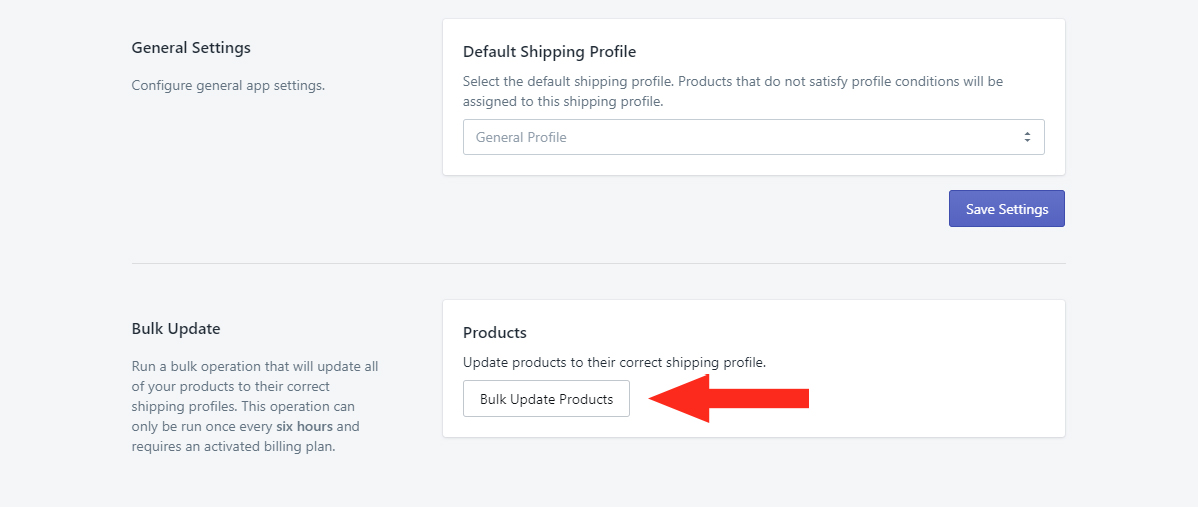
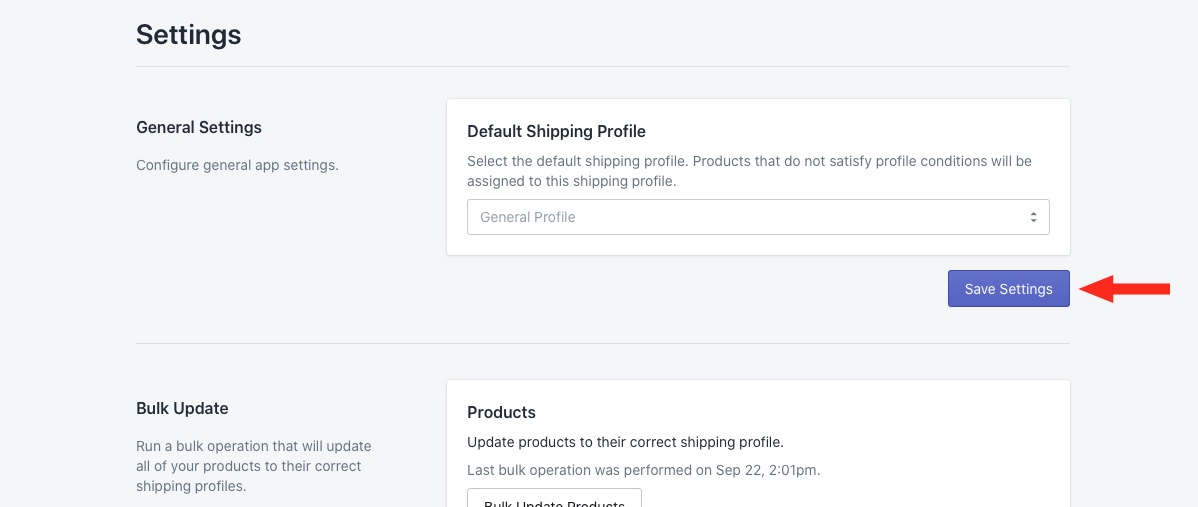
1) In the Default Shipping Profile section, select your preferred default Shipping Profile from the drop-down list. Products that don’t satisfy any Profile Conditions will be assigned to this shipping profile.
2) Click the Save Settings button to save your default shipping profile.
Bulk Updates
1) To run a bulk operation that will update all of your products to their correct shipping profiles, click the Bulk Update Products button.
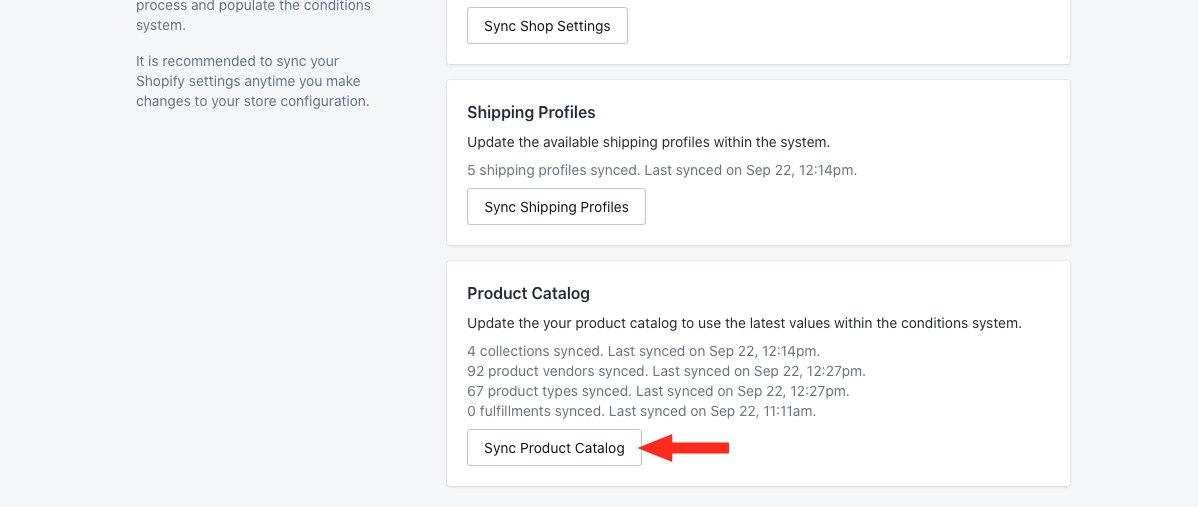
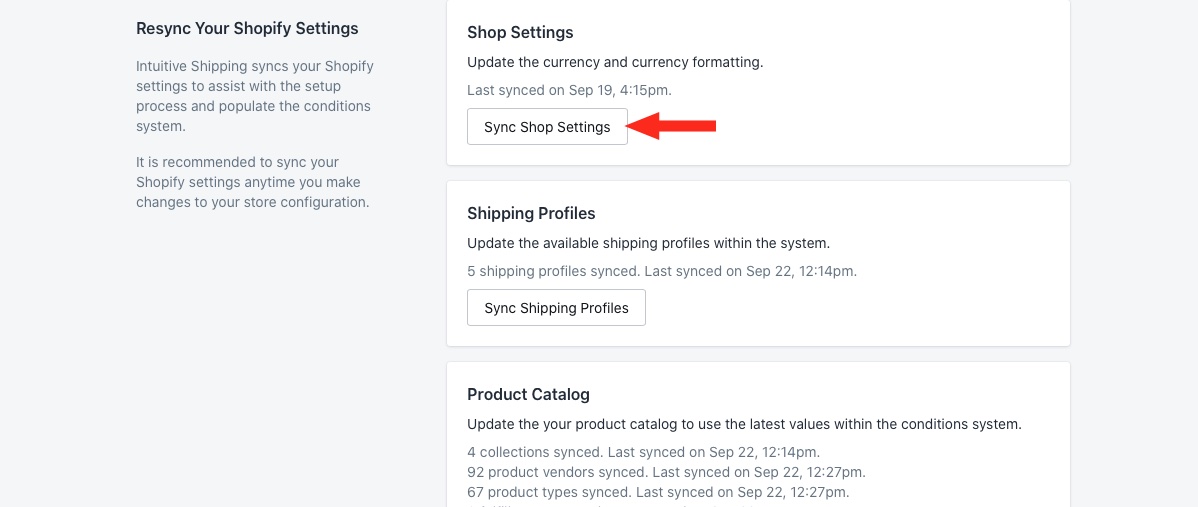
Syncing
1) To sync your Shop settings with Automate Shipping Profiles, click the Sync Shop Settings button. The time of your last sync is displayed above the button.
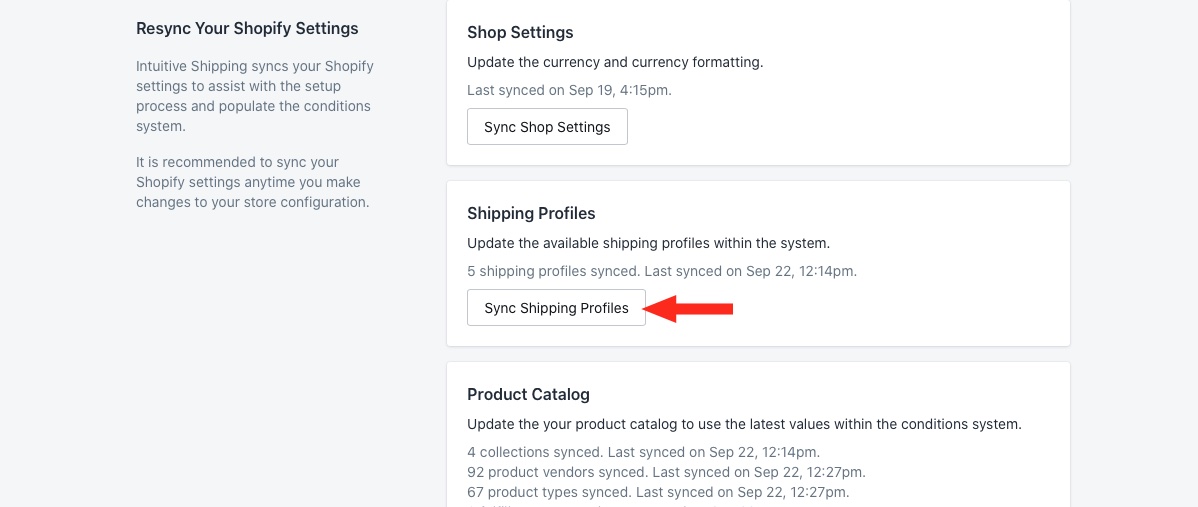
2) To sync your Shipping Profiles with Automate Shipping Profiles, click the Sync Shipping Profiles button. The time of your last sync is displayed above the button.
3) To sync your Product Catalog with Automate Shipping Profiles, click the Sync Product Catalog button. The time of your last sync is displayed above the button.